Showing posts with label Painting. Show all posts

Tuesday, January 15, 2013

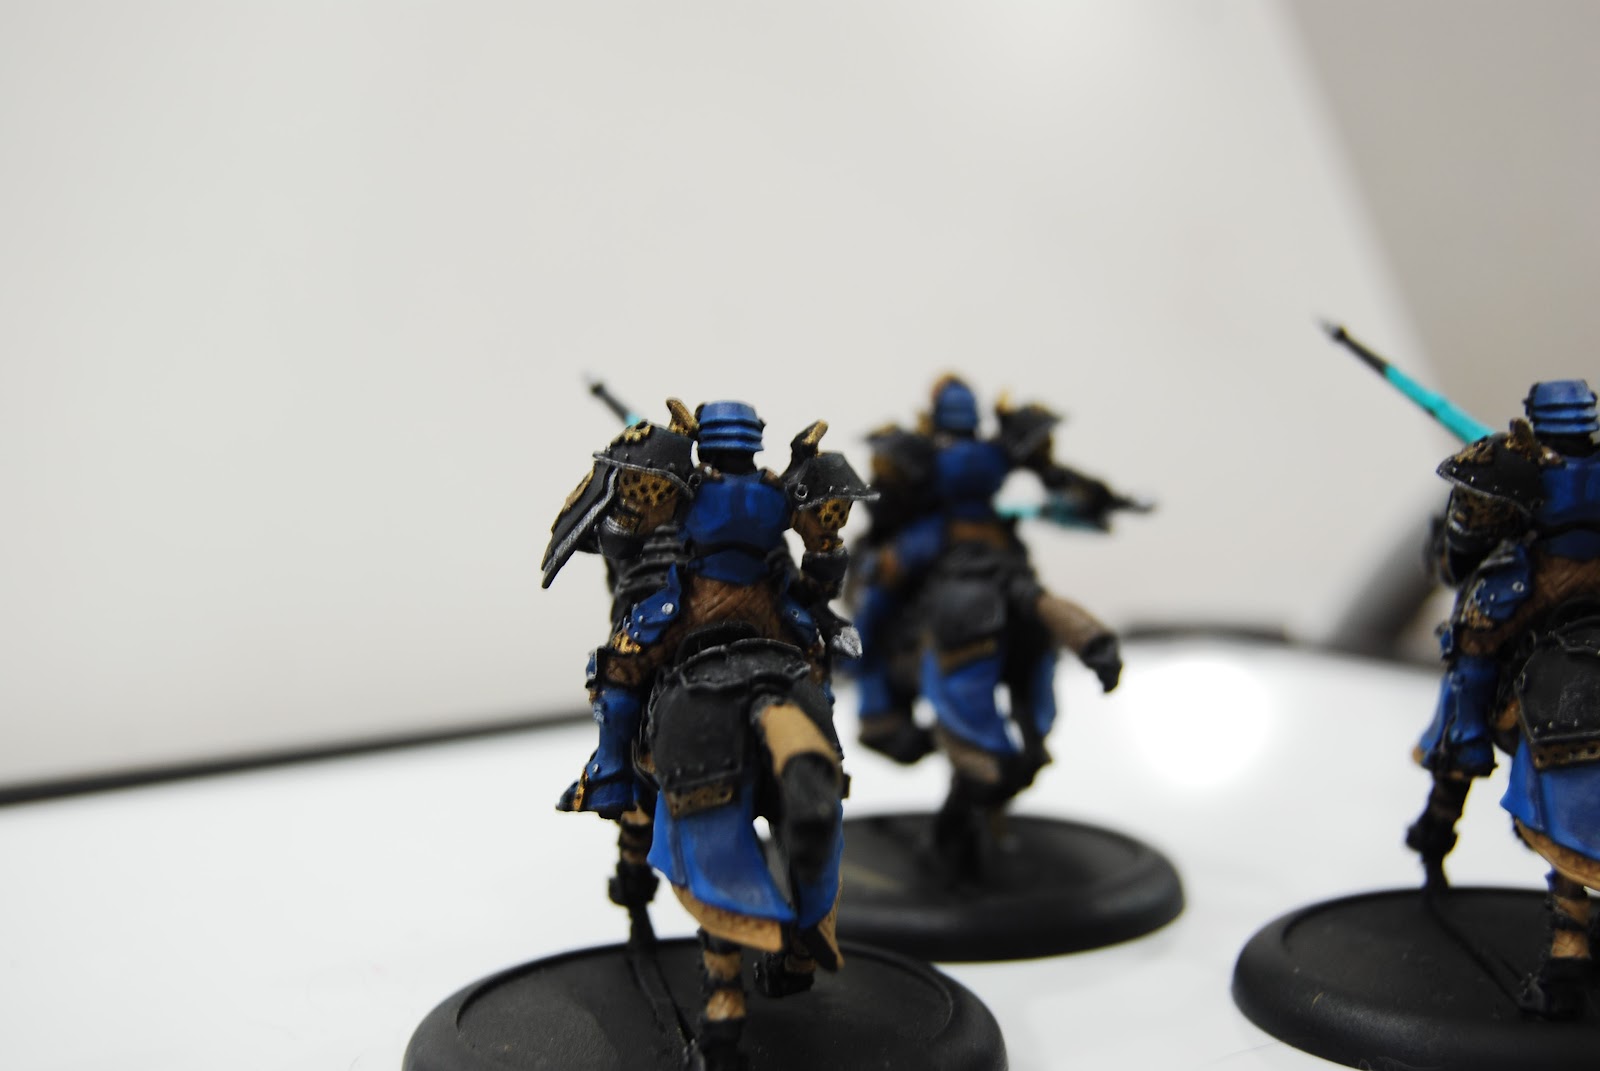
Painting Attempts: Stryker1 Variant

Well folks, I was not able to post an update for Sunday becuase, well... Its a Sunday...

I wasn't able to post an update for Monday because I was out of town for work... Also don't expect an update for 7 days starting Wednesday. I'll be on an out of town trip for work.

Well enough about that, here's Stryker1! More pics after the break as well as a description of how I painted him.


Friday, January 11, 2013

Painting Attempts: Stryker1 Variant - WIP - Second Update

Okie... I botched the skirt... I have ideas of how to fix it... It involves making it NOT white white... LOL

More pics after the break...


Also, sorry if the pics are a bit blurry, I was in a rush last night to take the pics and then head to sleep...

Wednesday, January 9, 2013

Painting Attempts: Stryker1 Variant - WIP

Hello, today's update will be short, just a peek at my progress with my Stryker1 variant. I got this guy for like 4 USD on sale a Miniature Market, I also find the variant's pose better than the battle box's pose. Here's what I have so far.

Tuesday, January 8, 2013

Painting Attempts: Squire

I feel that I need to explain why I repainted my Squire before I actually show it. It all started with a game, where JohnB decided to proxy the Hyperion to see if he should get it when it's model finally came out. In case your not aware, the Hyperion's main gun has the Critical Consume rule. This means that if rolls a critical hit, all small based non warcaster models in the 5" AoE template vanishes. No damage roll, no tough check, they just get sucked into limbo. Now in this game, he shot my warcaster with said gun. It was a critical hit, now the warcaster lived. The Squire who I admit I like to keep very close  to my caster got consumed. When I lifted him from the table to take him to the dead pile, his base fell off. Since then it was said that my Squire was truly sent to limbo. In order to reflect that I decided that since he's off his base anyway, and he was one of the first models I painted, I would repaint him. Here he is, read on to find out how I painted him just an hour.


Saturday, January 5, 2013

Painting Attempts: Sword Knights

So I finally finished my Sword Knights. Total work time was about 10 hours. By far the fastest I've ever painted a 10 man unit, or any unit for that matter. I actually used the air brush for most of the work, so that may explain the speed. Here's an initial pic, more pics and an explanation of how I did it after the link...

Tuesday, January 1, 2013

Painting Attempts: WIP -Sword Knights

Go some more work done on the Sword Knights...

Just a few more steps till I'm done with them, mainly wash on the armor, flesh on the face of the leader, white on the cygnus on their chests...

I hope to be done by tomorrow night, that way I can move on to the next project...

Sunday, December 30, 2012

Painting Attempts: ATGMs Finished

Finally got the ATGMs completed.

Not my best work, but it will have to do...


On top of that I was able to start painting my Sword Knights...

Here's a WIP picture...


Friday, December 21, 2012

Painting Attempts: Air Brush Trial

Well, I got home later than expected yesterday and I was honestly in no mood to do detail painting on the ATGMs. So I decided to play around with my new toy...


I also used the airbrush to primer the black. I then used it to base coat the Cygnar Blue Base, still have a bit of practice to do. Particularly in mixing the paints to get the right consistency.

Tuesday, December 18, 2012

Painting Attempts: ATGMs Update

Finally got some more work done with the ATGMs. Far from finished, but any progress is good given my lack of time and will power...


Hoping to give you more updates within the week...

Tuesday, November 6, 2012

Short Update: ATGMs Painting Started

Finally started painting the ATGMs. I have about a week to get them ready, probably won't make it.


Saturday, October 27, 2012

Painting Attempts: Marcus "Siege" Brisbane

Hello folks, just a quick update for today.

Current project is the man who can hit you standing from 14" through forests and even when behind obstructions. Marcus "Siege" Brisbane.


Friday, October 19, 2012

Checking In

So yeah,

Wasn't able to post anything as of late, due to work... But mostly due to this:


I got so distracted by it that I spent the weekends hosting a session for my WMH play group, I did however start painting this guy before the book arrived:


I'm going to try and get him painted more, maybe post an update tomorrow...

That's all for now...

Saturday, October 6, 2012

Tools of the Trade: Brushes

Hello folks, I'm back with regular Warmachine posts now so its time for Tools of the Trade...

Like my last Tools of the Trade post this one will be discussing one of the important tools painters use, brushes. I'd like to believe that what kind and brand of brush a painter uses is a matter of personal preference. If you've painted minis before you'll know what I'm talking about, if your really new then you still have no idea what brush to use. Well I'll be discussing the basic brushes and where you can get them and give you my own personal preference in the end.


Sunday, September 30, 2012

Painting Attempts: Rangers

Well, I'm a bit late. Better late than never I guess. Here's my attempt at painting my Rangers unit.


Saturday, September 8, 2012

Tools of the Trade: Wet Pallets

Hello folks, before I proceed with my Lazy Painter posts, I figured I'd first talk about the tools you'll need to apply your base coat, wash, highlight and dry brush. So today I'll talk about the wet pallet and how you can make your own.

What is a Wet Pallet?

Well, a pallet is a place where you place your paint to be thinned or mixed. The problem with regular pallets is that paint has a tendency to dry fast when left on it. Now for people who take a long time to paint this can mean a lot of wasted paints. A wet pallet is basically a pallet that keeps your paint from drying.


Saturday, August 25, 2012

Way of the Lazy Painter: Primer

This is the first in a series of articles on basic painting methods. We'll be discussing priming today, what it is, why you need to do it and more importantly how to do it. The end of this will also have a demonstration video showing how I do my priming.

What is priming?

Priming is the process of applying a thin coat on your miniature to give your acrylic paints a better surface to bond to.

Why do I need to do it?

There are two major reasons why you should place a primer on your miniatures. First as I mention above it gives your paint a better surface to bond to, this means that once your done painting your miniature the paint won't just chip off when you touch it. Second reason to primer is that depending on the color of your primer, it make painting easier. This second reason should be discussed in detail in a the later post, so just use this guide to know what color of primer to use. Miniatures that wear a lot of metal(armor, weapons, etc) primer with black, if it wears a lot of cloth(cloaks and the like) primer with white/grey.

Wednesday, August 22, 2012

Thursday, August 16, 2012

Way of the Lazy Painter: Miniature Painting's 5 Basic Techniques

I've been painting for almost 2 years now, I am by no means an expert but I do feel confident enough to write about the basics of painting. I know that there are a lot of resources on the net for these basics techniques, my hope is that I can provide help to people starting out by simplifying the explanations. Now let's get started.

There are 5 basic techniques that one will use in panting miniatures. With these 5 techniques you can produce tabletop quality miniatures, what this means is that you'll have an army that looks good when you put it on the table and look at it from afar. Techniques that allow you to produce higher quality work also have their foundation on these 5 techniques.
  1. Priming - This is the application of a thin layer of primer to give your paints a better surface to stick to.
  2. Base Coating - Application of color on your miniature.
  3. Washing - Application of a color darker than the base coat in a medium that tends to stay in the deep sections of the miniature. This help create the appearance of shadows in the miniature.
  4. Highlighting - Painting of a lighter shade of color on top of a base coat. This helps create the appearance of light hitting parts of the miniature.
  5. Dry Brushing - The application of paint very thinly only in the raised areas of the miniature. This can be used to highlight and create more dynamic metallic colors.
I'll be discussing each of these techniques in detail and will provide some sample videos on how to do each in the coming weeks.

Wednesday, August 15, 2012

Thursday, August 2, 2012

Paint the Target is up!

Nothing like seeing your work in another man's website among spectacular works to get you rearing to paint...

So, here' what I submitted for this month...